Top tips for photographing your own projects
Showcase your designs with great interior photography - What you need to know.
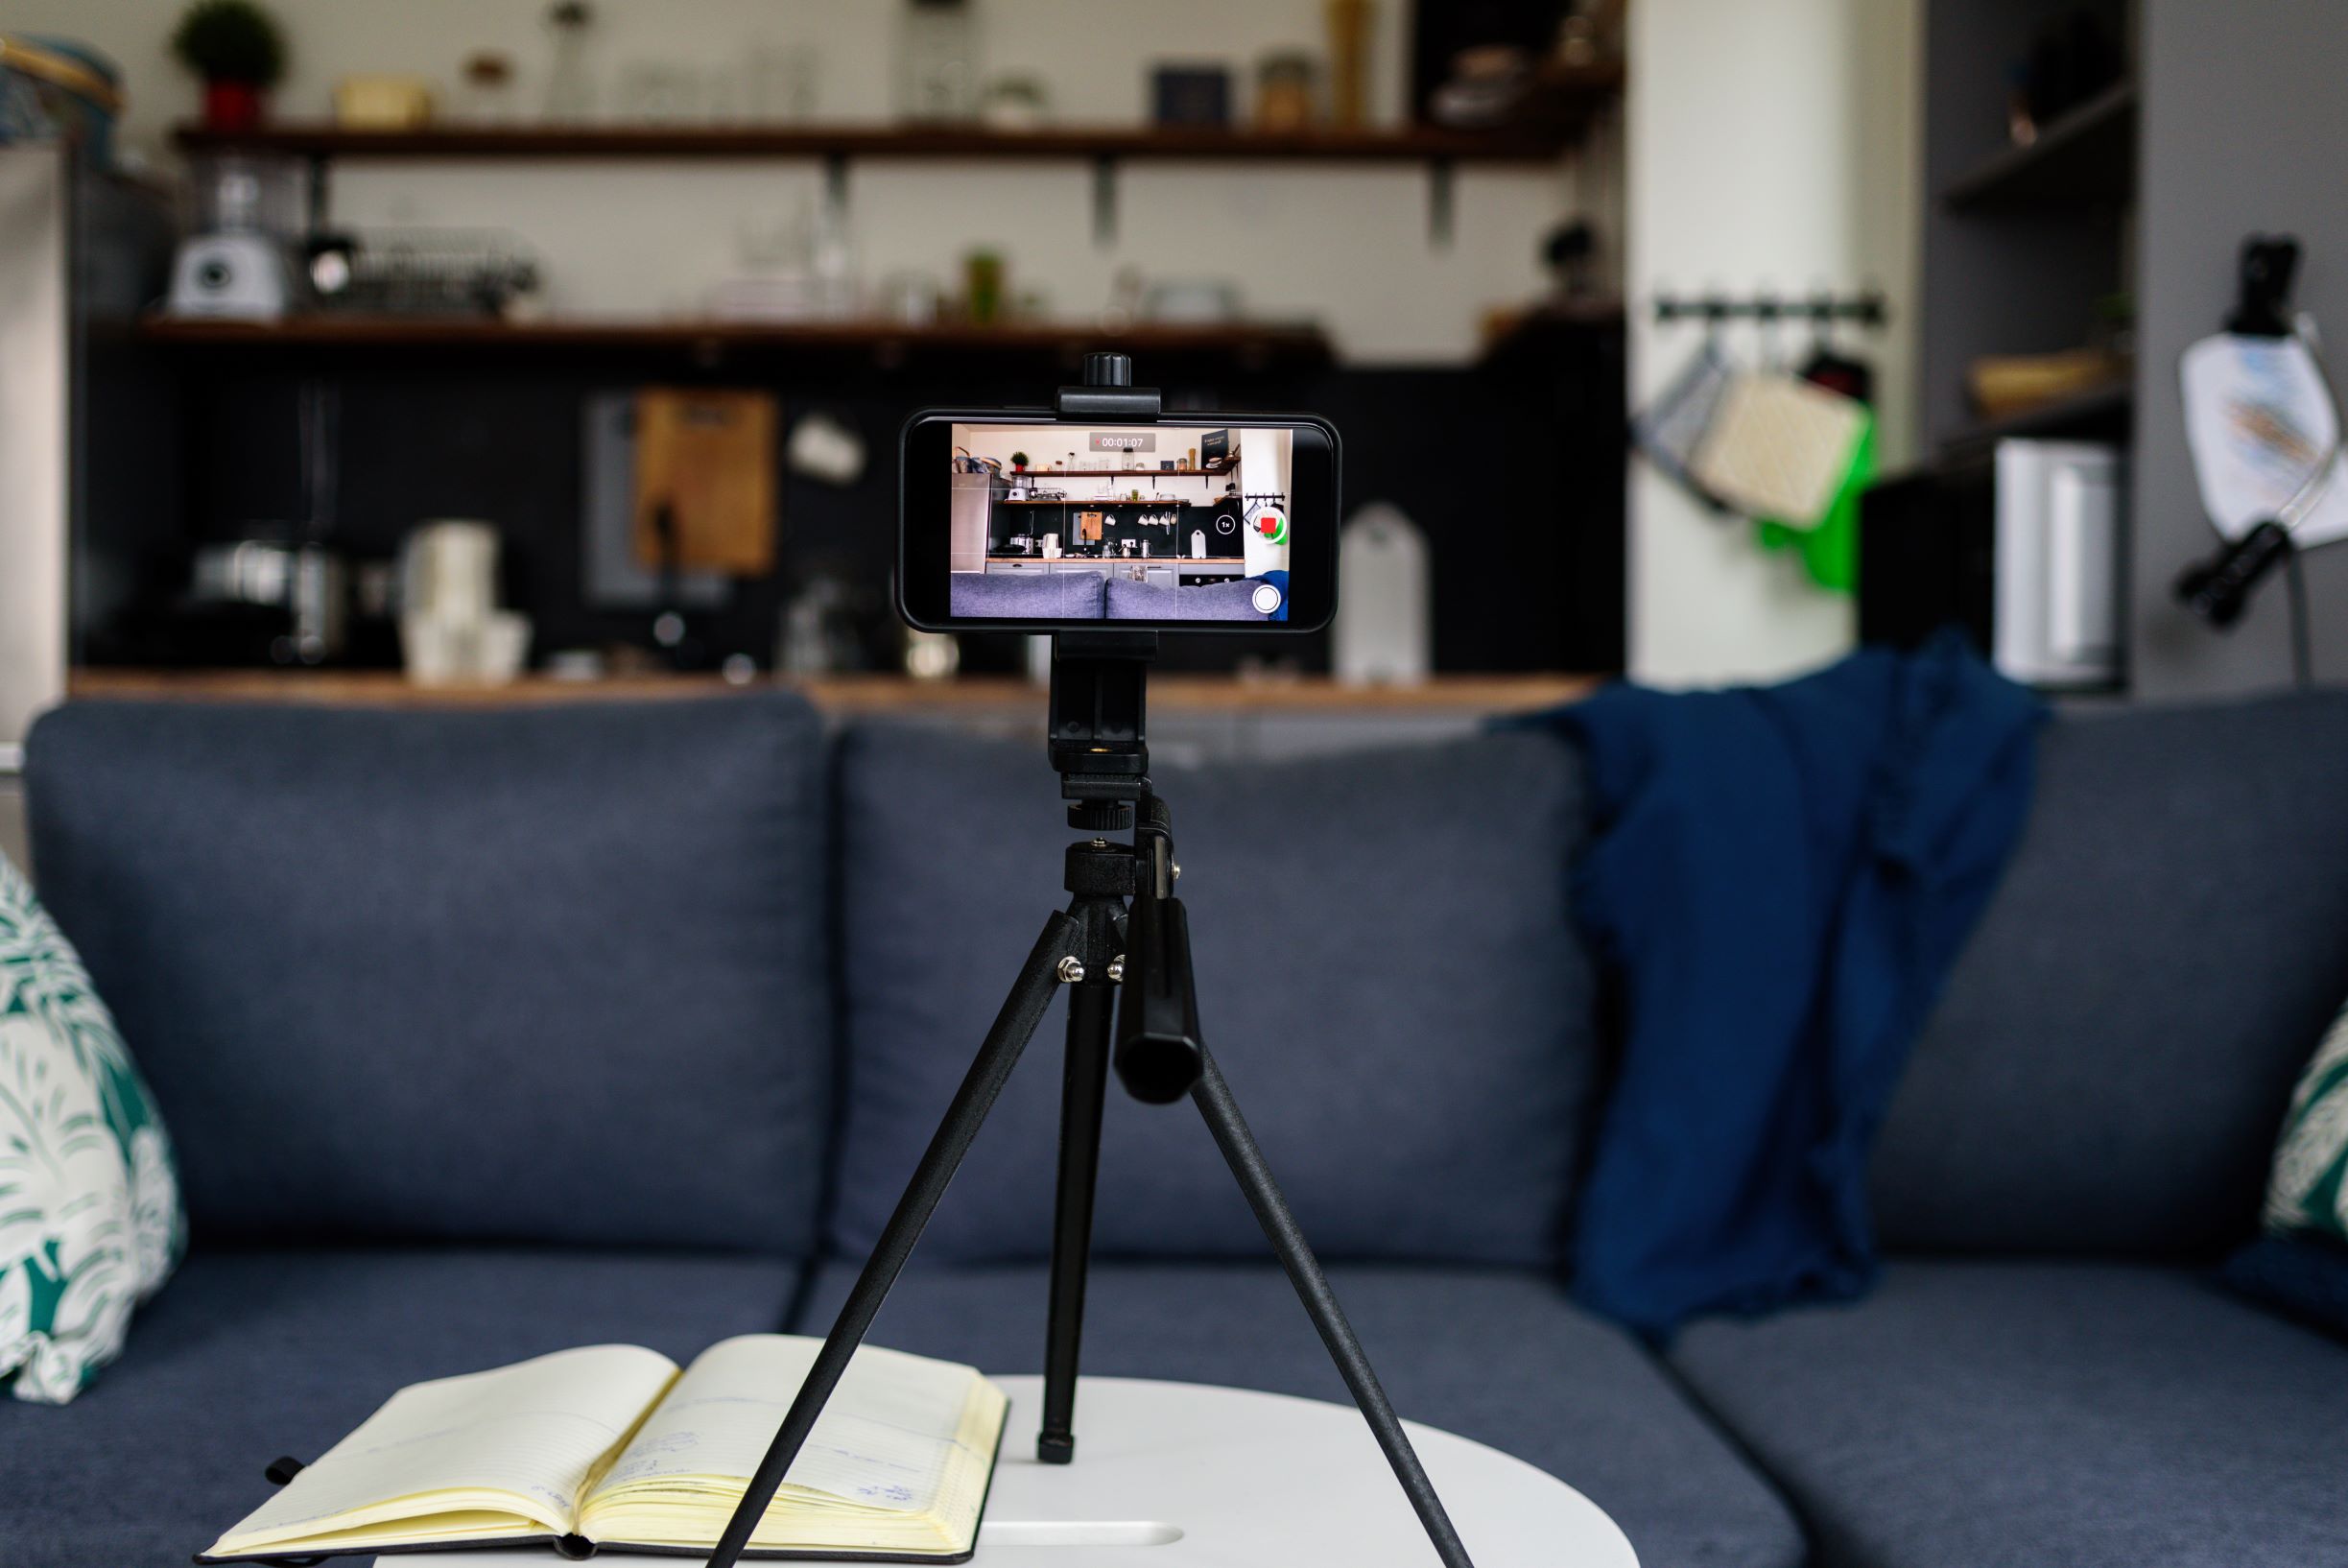
In an ideal world calling on a professional photographer to capture images of your finished projects is the best way to get a great set of pictures. But when you’re starting out, the job’s a small one, or you want to shoot images to add to your Insta feed, you will often find yourself being your own photographer. We asked BIID Industry Partner and photographer James Balston to give us his top tips on how to take your own photographs. Use this advice from James along with more top interior photography tips and make sure you get results you’ll be delighted to share.
What are the most common photography errors?
The number one issue with non-professional photography – even if it’s shot by an interior designer? ‘Not keeping the camera straight,’ says James. ‘As a rule, the verticals should always remain vertical, and not be tilted up or down, which can be disorientating.’
You may be able to use a grid in the viewfinder of your camera or the one that’s available on an iPhone or iPad to check you are shooting straight. Otherwise, use a wall as a guide.
Another common problem comes from shooting with the lights on, according to James. ‘Unless you have clever software, and the ability to tone down lamps, they can often become overpowering,’ he explains. ‘If lights are dimmable, use the lowest setting for more balanced results. Personally, I prefer just using natural daylight. Also be aware that most interiors mags shoot rooms with lights off, just using daylight.’
The latter tip is worth keeping in mind if you’d like to see your images featuring in print and on interiors magazine websites, which can boost your profile and help win new clients.
See How to work with journalists to promote your business
What should you think about before you begin taking pictures?
Planning is necessary in advance of your shoot and, just as you do when designing, you should take the room’s orientation into account and know where the light is coming from, James advises. The weather conditions on the day are important, too. ‘While it’s often assumed that a bright sunny day is ideal, sun can create problems, and can give a very harsh light with overly strong shadows. Flat grey skies provide a much more balanced interior light,’ he says.
How to approach rooms with small and large dimensions
Showing the results you’ve achieved in designing compact spaces as well as big rooms will likely be on the agenda, but each creates particular issues you’ll have to deal with.
‘You may need to use a wider lens for a small room in order to see enough in shot,’ explains James. ‘But don’t go to the extreme of super wide lenses, which will distort things in your picture, particularly towards the edge. You may have seen this in estate agents’ photos.’
You might also have to shoot through the doorway when you’re photographing a small room.
Large rooms, meanwhile, can appear unwelcoming if not photographed in the right way. ‘In a big room, the opposite is sometimes preferable,’ says James. ‘Use a tighter lens to make the room feel more intimate. A wide lens on a large space may just appear a bit distant, unless you are purposely trying to show off the scale of the room.’
What else is important to know for rooms of all proportions?
Whatever the size of the room, more than one photograph of it may often be necessary. ‘Don’t feel obliged to get everything in one shot. Sometimes it takes several to tell the story of a room,’ advises James.
Don’t forget that you may be obliged to move decorative accessories and even furniture to get the perfect photograph. Despite the fact that they’re perfectly positioned in the room, they can be in the way within the image. Be prepared for re-arranging to get a good shot – and have an assistant to help if you can.
What do you need to be aware of when you’re taking photos for Instagram?
Instagram can be a powerful tool for interior designers, but creating images that will work successfully on the medium needs a particular approach. ‘Keep things simple, punchy, graphic and immediate,’ says James. ‘Some of the best Insta accounts are the ones with simple, memorable images. Shoot straight on into a room. Look at magazine covers, such as House & Garden. They often feature flat/single perspective images, which are simple and direct.’
Remember that the portrait orientation will work best on Instagram, so stick to this format to create an attention-grabbing feed.
And if you’re shooting a flat surface such as a console table or a shelf for Instagram, take note that you might have to move the decorative pieces on the surface closer to the camera than normal for the benefit of the photo.
Capture the best images
Keep these tips in mind and you can take photographs that promote your practice effectively. Be cognisant, though, that commissioning a professional interiors photographer has plenty of plus points, not least the fact that they can deal with all the issues detailed above.
‘They will have also invested in lots of good quality equipment, giving much more scope for getting the best images,’ says James. Be mindful, too, that a photographer could assist in getting your projects seen more widely. ‘A professional photographer may have lots of contacts in the magazine world, which will be helpful in getting work published,’ says James.
You can be sure of making the portfolio page of your website impressive in order to attract new clients. Commission a specialist interiors and architectural photographer and you can benefit from wide experience in shooting for design practices, as well as national newspapers and leading interiors magazines.
If you would like to learn more about doing your own photography you can attend our Online Workshop: Smartphone Photography for Interior Designers.
If you would like to find a photographer or any other product or service you can find it on our supplier directory.

Explore the latest, member-exclusive, templates designed to make your life easier.
NALA | The Art Matchmaker is Platinum Partner with the BIID
Designer insight into commercial and residential design
Prize winners for ‘Digital’, 'Hybrid' and ‘Hand Drawn’ for this inaugural event have been awarded

The first in our new, quickfire "Do You Know..." series. Giving you quick insight to crucial topics.

Read about the latest updates in the formation of an interior design apprenticeship.